Contents - Index - Previous - Next
Sets - Creating a Set
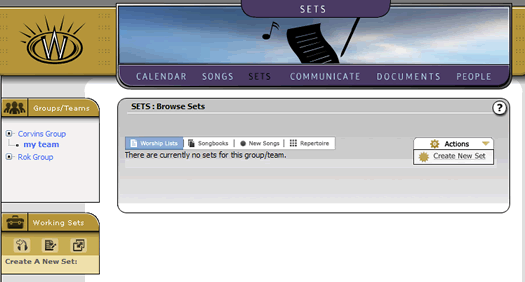
When you first land in the Sets section, you will find an empty list area with four tabs. Each of these tabs represents a type of set that you may consider creating. Since we are starting from scratch, we will create our own new set. To do this, mouse-over the familiar "Actions" drop-down menu and click on the "Create New Set" function, as shown below:

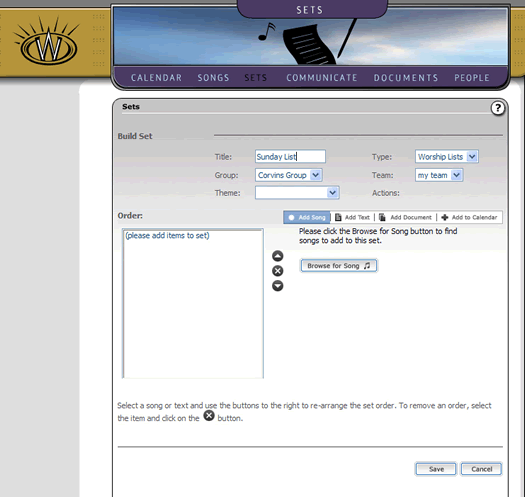
You will quickly be placed in the "build set" screen, which has a number of controls, tabs and options available to you. You can browse these options at your leisure, but for our tour simply enter a label into the "Title" input box at the top of the screen, as shown below (we entered "Sunday List" as our set name):

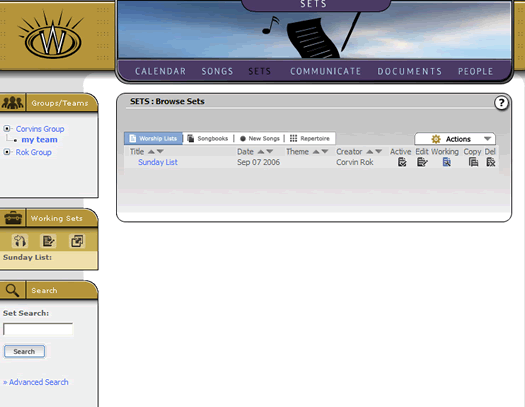
For now, we will skip the process of actually adding items to the set, but you can see from the controls and tabs that you can add text, songs, documents and calendar components to any set. Once you have entered the title of the set, simply hit the "Save" button. This will save your set title and create the new (though empty) set. At this point, the screen will refresh and you will see the "Finish" button at the lower right of the page. Select that button to return to the main sets listing area. You should now be in the set list area, with your one set viewable in the list as follows

As you may have figured out, creating a set is not much fun without something in it. So for a moment, lets take a quick detour and click on the "Songs" section where we will quickly throw some songs into this set. To continue to follow this tutorial, go the next step "Adding Songs to a Set".